Richard:
would love to know your technique there!
Hi Richard:
Happy to share.
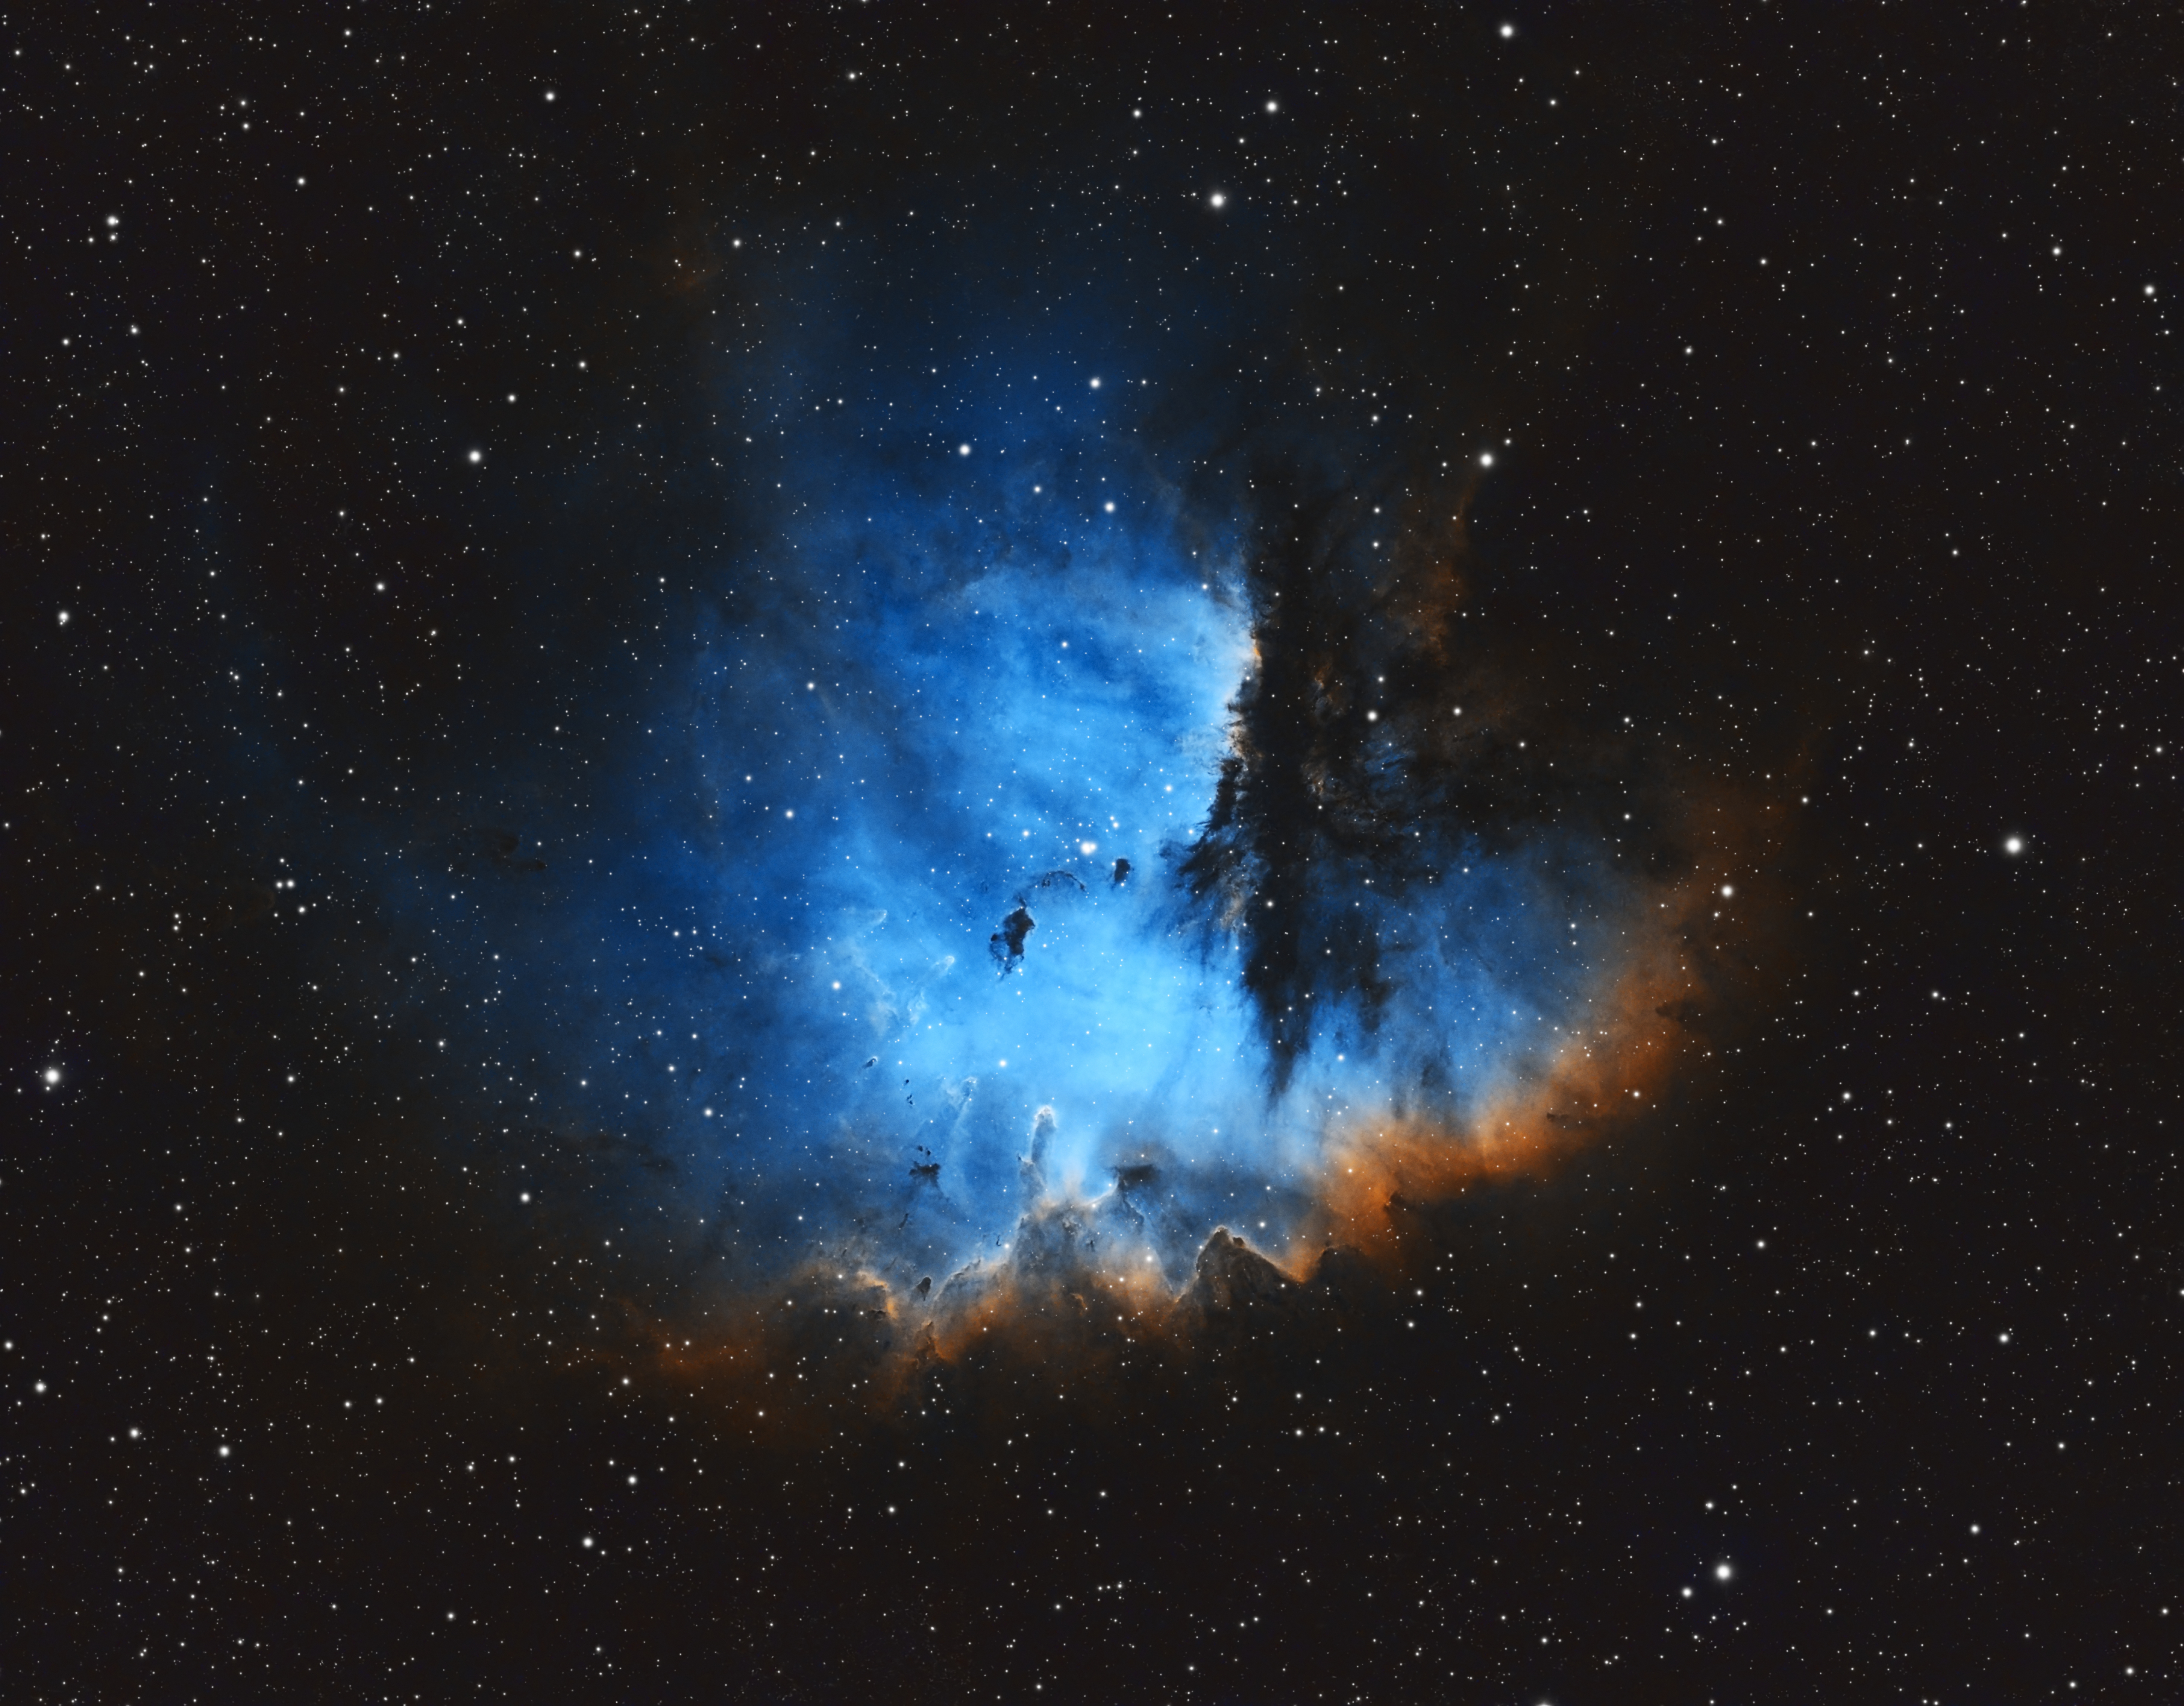
I use a Tone Mapping technique to process my narrow band images. As I briefly said above, the technique involves separating the nebula from the stars so that you can process the colors in the nebula without damaging the stars. When processing the tonemap you are concerned with COLOR and not so much with detail. The important thing to do with the colors is balance them so that you have a contribution from each of the three channels impacting the image. That is where the "reddish" tones in the center of my image come from...having a balanced tone map.
One thing you SHOULD NOT DO is make the mistake that I see SOOOOO many imagers (including the so called "experts" on YouTube) make. That mistake is using the SCNR tool to rip out all of the green in the image, then inverting and applying SCNR again to yank out all of the magenta. You absolutely KILL all of the color that is possible in a three channel image. If you want a bi-color image, just shoot 2 channels. If you're shooting 3 channels, WHY kill it??? That never made any sense to me.
Eric Coles and I did a presentation on The Astro Imaging Channel that details the entire process. Here is a link to our video:
https://www.youtube.com/watch?v=ECavLqDKs0E&t=4243sTo summarize, start in PixInsight and do your typical things to stack your channels. Then combine using ChannelCombination and stretch using an UNLINKED ScreenTransferFunction applied using the HistogramTransformation tool. Remove the stars using StarNet.
(Alternately...you could stretch each channel independently, remove the stars from each, then combine all 3 stretched images. And a third approach would be to use StarXTerminator to remove the stars from the linear images, then combine and stretch the starless SHO image. All three are variations on the same theme.)
Save the resulting SHO starless image as a TIF and open it in PhotoShop. Use the techniques that Eric demonstrates to balance the colors across the different areas of the nebula (I use his technique, modified slightly for my own style...). When done, save the edited SHO image and return to PixInsight.
Use a copy of the Original Ha image and go through the steps that I show for Deconvolution, Stretching, HDRMultiscaleTransform, LocalHistogramEqualization, and Sharpening on the Original Ha image. Extract the luminance from the SHO image and combine with the Original Ha as I show in the video to form your final synthetic luminance layer. Add the luminance to the SHO image and do any final color adjustments (color saturation, contrast, etc.) to finish off the image.
Eric's presentation starts around the 9 minute mark and runs for 20 minutes or so. He covers the PhotoShop color balancing part. My presentation starts immediately after his and I cover all of the "detail" stuff.
I also have the PixInsight and PhotoShop project files for this image. If you would like to have those, let me know and I'll find a way to post them on Google Drive or something so that you can download them.
Please let me know if you find the video helpful. Also, if you have ANY questions I am happy to answer them directly. Contact me either through this post or via a direct message. We can even start a google meeting and chat live if you think that would be helpful.
Best.
Tim.