I got the same result as you did, I also stacked in WBPP.
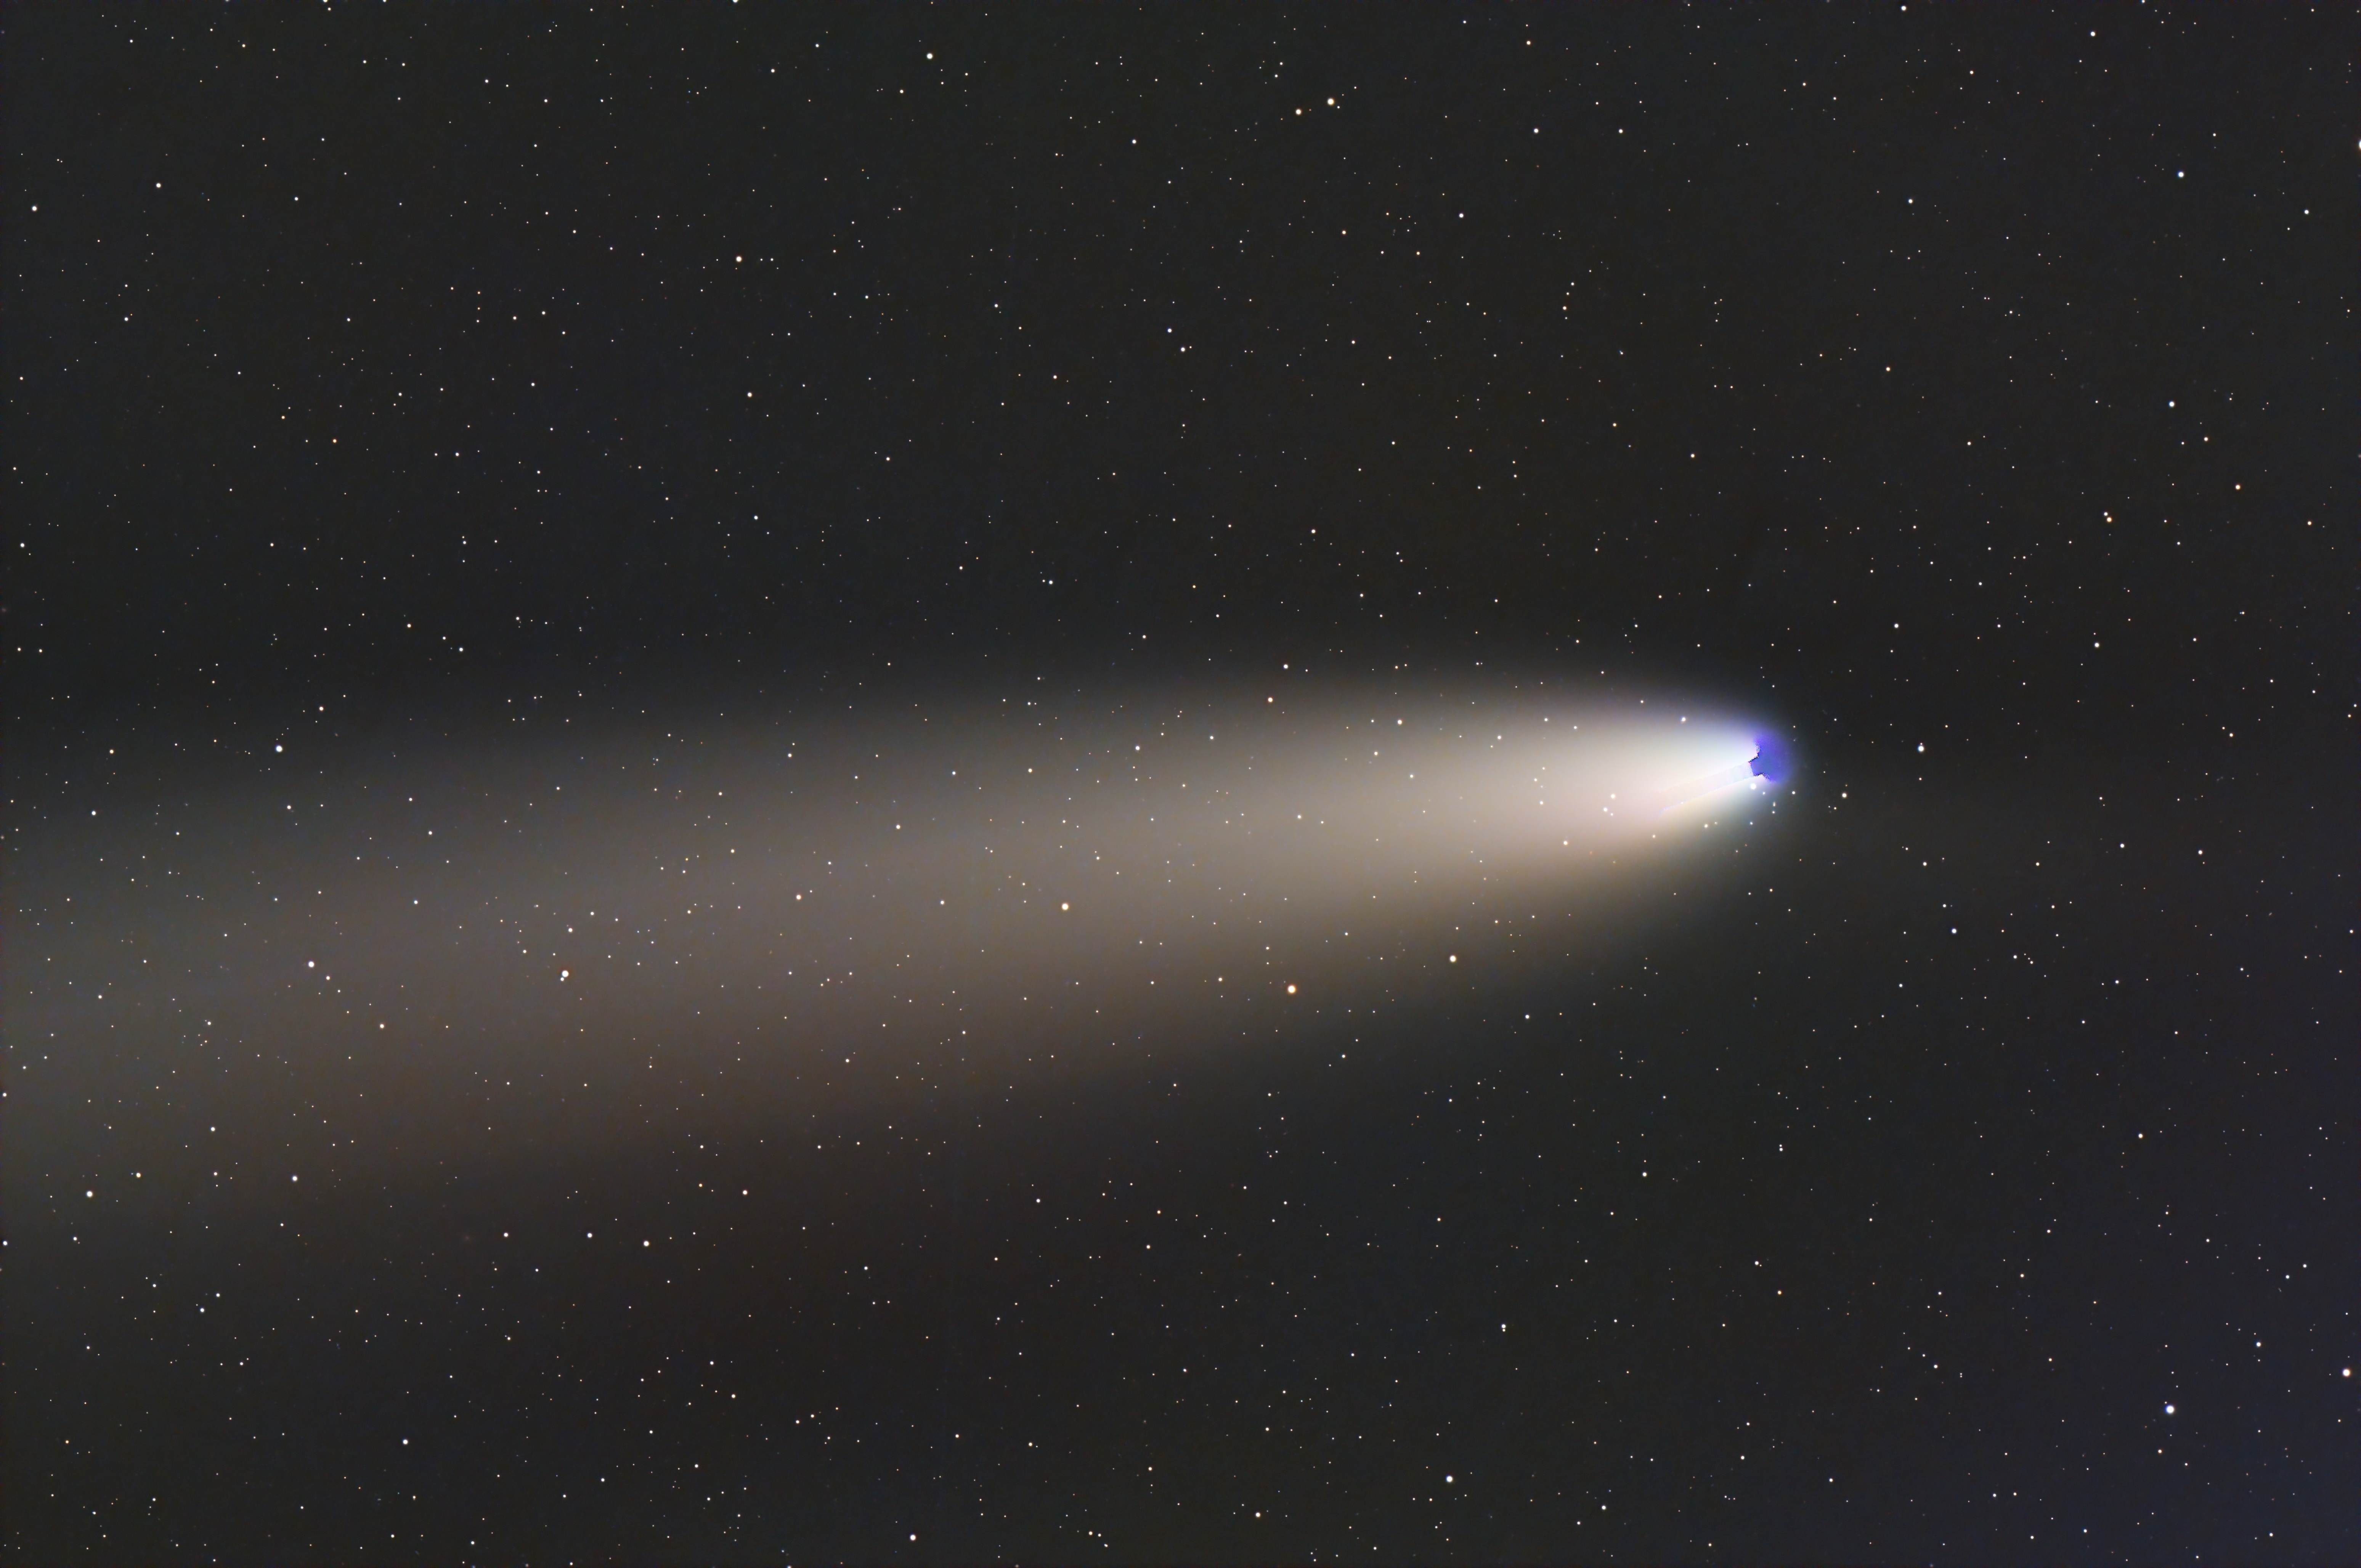
What I then did was use this image as my 'star-stack' by using StarXTerminator to remove the comet and generate a stars-only image, it also required a little bit of the clone-stamp tool to fully remove it.
Then I went through the calibrated lights (that WBPP generates as part of its script, should be in your designated output folder) and ran these through the image registration script using the stars image as a reference.
After the calibrated comet images were registered, I ran these new registered images through NoiseXTerminator (using the batch process option [side note, this didn't work for me and introduced a weird tiling effect so I had to go through each sub manually with NoiseXTerminator]) and these were ran through the comet alignment tool and then ultimately through the image integration script.
At this point I ran StarXTerminator on this integrated and registered comet stacked image and went through the usual process of stretching and then boosting contrast/saturation with curves.
Then you can crop both the stars and comet image to the same size/ratio and then add them both together using PixelMath.
VisibleDark has a great tutorial on this.Quite a lot to do and consider, I question if my total 15 mins exposure was worth it!