John Pancoast:
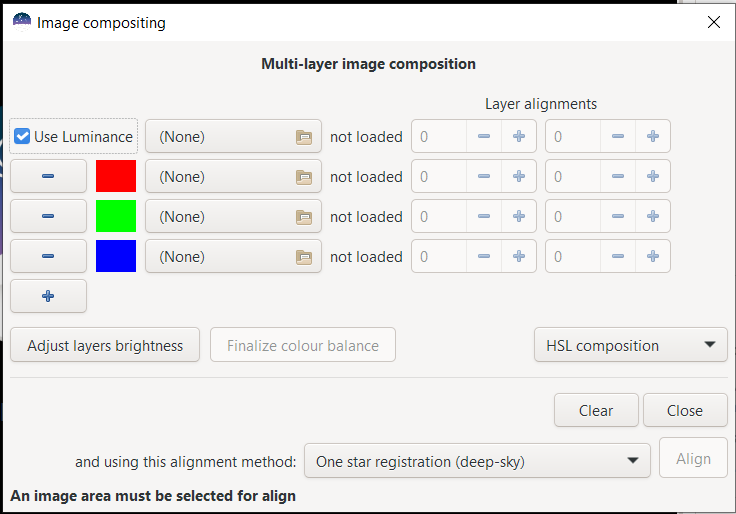
I apologize for adding to the thread with a follow-on question. I have used the RGB Recomposition successfully (once!) with L,R,G and B files. I wonder how people are combining HaRGB with this tool?
0. Create a new empty directory (folder) somewhere, e.g.:
"myFolder"1. Change directory to "myFolder" and create the subdirectories (subfolders):
biases /
darks /
flats /
lights - you might know this already.
2. Fill these folders with the appropriate files
3. Start
Siril and set it's work directory to
"myFolder"4. From the main menu launch
[ Scripts > OSC_Extract_HaOIII ]This will finally create the two files "result_Ha_1234s.fit" and "result_OIII_1234s.fit".
Now open
[ Processing > PixelMath ] and load these 2 files ("+" plus sign over image area) into the dialog. The file names should appear in the files' table below and most probably the variable names in front of the filenames will read
Ha and
OIII - if not, change the variable names (double click) to these short names, for convenience.
De(!)activate the check box
"Use single RGB/K option". This makes all 3 fields R + G + B accessible. Now:
* click into field "R" and then double click on "Ha" variable in the files' list
* click into field "G" and then double click on "OIII" variable in the files' list
* click into field "B" and then double click on "OIII" variable again
After this the fields read:
R=Ha +
B=OIII +
G=OIIIFinally click
[ Apply ] ... and voilà! ... you have an image.
~ * ~
Hints to proceed:A1. The image is still linear, use "autostretch"
view mode to see it
A2. Make the image
view mode linear again and stretch it with
GHS only so much that the stars alone look somehow pleasing. Avoid pushing the nebulae!
A3. Save this slightly stretched image as
stars.tif - you'll need this later when layering the
Ha +
OIII +
stars in
Gimp or elsewhere
B1. Now open the
Ha file "result_Ha_1234s.fit" alone and execute
[ Image Processing > Star Processing > StarNet Star Removal]B2. Check (activate)
Pre-stretch image and uncheck (deactivate)
Generate starmask ... as we don't need it.
B3. When
StarNet is done open it's resulting starless image
B4. Stretch it at will with
GHS and take care of a good balance ... make background darker by shifting the
blackpoint a bit right (
histogram goes left border). Repeat
GHS and
blackpoint mode until fine.
B5. Save this result as "ha.tif" (TIFF!) - you'll need it soon in
Gimp ...
C1 ... C5. Repeat steps
B1 ... B5 with file "result_OIII_1234s.fit" and save it as "oiii.tif"
~ * ~
Leave
Siril and open (e.g.)
Gimp with file "stars.tif". Than add the two files "ha.tif" and
"oiii.tif" as
layers.
Move the "stars.tif" to the top and make it invisible ("eye" symbol off). Move "oiii.tif" at the middle layer (of 3 layers) and make it invisible. You now have "ha.tif" as the lowest layer and in b/w.
1. Go to menu
[ Color > Colorize ] and colorize (sic!) this b/w image to a nice
Ha red.
2. Switch on visibility of layer "oiii.tif" and set it's overlay mode from "normal" to "screen"
3. Go to
[ Color > Colorize ] again and colorize (sic!) this b/w image with a nice
OIII_blue.
4. Play with the opacity strength to taste
Finally make the "stars.tif" layer visible and - voilà! - your are basically done.
Now:
Save this
Gimp file as a
Gimp myImage.xcf file.
Then(!):
Merge all
visible layers to your final image and
export it to
myImage.[png,tiff,jpeg,...]Good luck and clear skies,
Frank